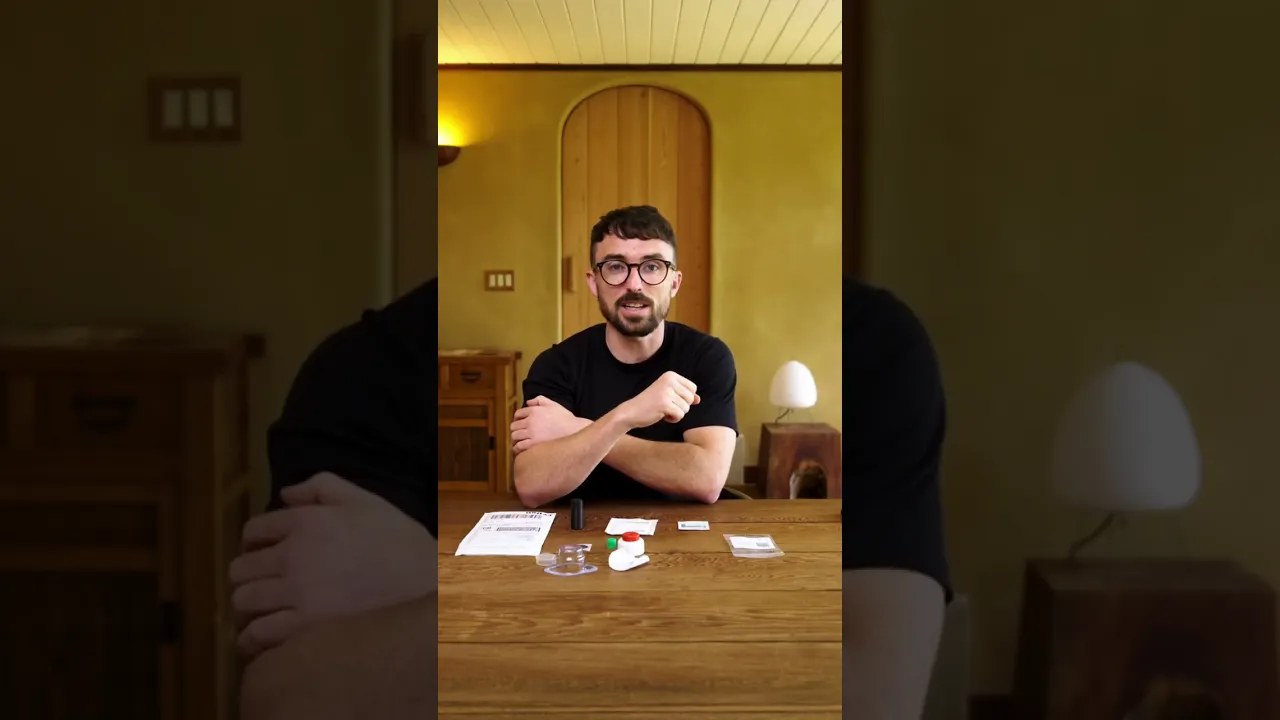
Getting Started
Watch the video walkthrough or swipe to see step-by-step instructions.
Step 1
Wash your hands. Remove all items from the white Rythm bag and arrange them neatly on a clean surface in front of you.
Step 2
CRITICAL STEP
Scan the QR code on your collection bag before you begin. Then follow the prompts on your device.
Step 3
CRITICAL STEP
Write your date of birth on the sample bag.
Step 4
Tear open your blue gauze, green alcohol wipe, and black Rythm bandaid now so they are ready when you need them.
Step 5
Remove the clear cap from the red button.
Step 6
Grip the green cap, twist it clockwise, then pull upward to remove the lid from the collection tube.
Step 7
Position the tube with the line at the top, facing you. Firmly insert the raised end into the base of the red-button device until it seals securely
Step 8
Clean your upper arm with the green alcohol wipe. Let the skin air-dry before proceeding.
Step 9
Activate the circular heat pack by pressing your thumbs on the raised side of the silver coin until it “pops” like bubble wrap. The gel inside will crystallize. You may need to press and release multiple times to fully activate. Tip: Don’t try to break the coin.
For a visual guide, watch the instruction video.
Step 10
Hold the activated heat pack on your upper arm for 2 minutes.
If it feels too hot, remove it for a few seconds before reapplying. If the pack doesn’t produce heat, use a warm compress or rub your arm for a few minutes to warm the collection area.
Step 11
Peel off the adhesive backing from the red-button device and press it onto your upper arm.
It will stick on its own—no need to hold it.
Make sure the collection tube points down along your arm toward the floor. Let your arm hang loosely by your side and take a few breaths to relax.
Step 12
Press the red button fully with two fingers until you hear a click, then release.
Step 13
Set a timer for 5 minutes and wait for blood to fill the tube. Blood may appear immediately or take up to 5 minutes.
If no blood appears after 5 minutes, press the red button again. Note: If after 10 minutes the tube still isn’t full, complete Steps 14–23, then text the Rythm team at +1 (866) 740-3447.
Do not ship the kit if the tube is only partially filled.
Step 14
Remove the device by gently peeling it off from either side.
There’s no needle—only adhesive. Then place it on a clean surface with the red button facing down.
Step 16
Apply the black Rythm bandaid and leave it in place for 24–48 hours to promote optimal healing.
Step 17
Remove your collected sample by twisting the tube and pulling it straight down from the device.
Do not pour any blood out of the tube.
Step 18
Push the green lid back on your collection tube by pressing down on the top–do not twist. It should snap firmly into place.
Step 19
CRITICAL STEP
Turn the collection tube upside down and flick lightly on each side until the blood moves from the top to the bottom.
Invert the tube 10 times.
The blood should move from the bottom to the top with each inversion.Step 20
Put the sample inside the black Rythm tube protector.
Step 21
Place your sample into the orange sample bag.
Step 22
Place the orange sample bag with your sample into the black bubble mailer with the return postage slip.
Step 23
When you are ready to mail the sample, you have two options:
1. Drop it off at your nearest FedEx location.
2. Organize a pick up by texting the Rythm team at
+1 (866) 740-3447.
Note: Pick-ups cannot be organized before 8am or after 6pm local time.Step 24
If you have any questions,
text us anytime at
+1 (866) 740-3447
Alternatively, you can email us at [email protected]Getting Started
Watch the video walkthrough or swipe to see step-by-step instructions.
Step 1
Wash your hands. Remove all items from the white Rythm bag and arrange them neatly on a clean surface in front of you.
Step 2
CRITICAL STEP
Scan the QR code on your collection bag before you begin. Then follow the prompts on your device.
Step 3
CRITICAL STEP
Write your date of birth on the sample bag.
Step 4
Tear open your blue gauze, green alcohol wipe, and black Rythm bandaid now so they are ready when you need them.
Step 5
Remove the clear cap from the red button.
Step 6
Grip the green cap, twist it clockwise, then pull upward to remove the lid from the collection tube.
Step 7
Position the tube with the line at the top, facing you. Firmly insert the raised end into the base of the red-button device until it seals securely
Step 8
Clean your upper arm with the green alcohol wipe. Let the skin air-dry before proceeding.
Step 9
Activate the circular heat pack by pressing your thumbs on the raised side of the silver coin until it “pops” like bubble wrap. The gel inside will crystallize. You may need to press and release multiple times to fully activate. Tip: Don’t try to break the coin.
For a visual guide, watch the instruction video.
Step 10
Hold the activated heat pack on your upper arm for 2 minutes.
If it feels too hot, remove it for a few seconds before reapplying. If the pack doesn’t produce heat, use a warm compress or rub your arm for a few minutes to warm the collection area.
Step 11
Peel off the adhesive backing from the red-button device and press it onto your upper arm.
It will stick on its own—no need to hold it.
Make sure the collection tube points down along your arm toward the floor. Let your arm hang loosely by your side and take a few breaths to relax.
Step 12
Press the red button fully with two fingers until you hear a click, then release.
Step 13
Set a timer for 5 minutes and wait for blood to fill the tube. Blood may appear immediately or take up to 5 minutes.
If no blood appears after 5 minutes, press the red button again. Note: If after 10 minutes the tube still isn’t full, complete Steps 14–23, then text the Rythm team at +1 (866) 740-3447.
Do not ship the kit if the tube is only partially filled.
Step 14
Remove the device by gently peeling it off from either side.
There’s no needle—only adhesive. Then place it on a clean surface with the red button facing down.
Step 16
Apply the black Rythm bandaid and leave it in place for 24–48 hours to promote optimal healing.
Step 17
Remove your collected sample by twisting the tube and pulling it straight down from the device.
Do not pour any blood out of the tube.
Step 18
Push the green lid back on your collection tube by pressing down on the top–do not twist. It should snap firmly into place.
Step 19
CRITICAL STEP
Turn the collection tube upside down and flick lightly on each side until the blood moves from the top to the bottom.
Invert the tube 10 times.
The blood should move from the bottom to the top with each inversion.Step 20
Put the sample inside the black Rythm tube protector.
Step 21
Place your sample into the orange sample bag.
Step 22
Place the orange sample bag with your sample into the black bubble mailer with the return postage slip.
Step 23
When you are ready to mail the sample, you have two options:
1. Drop it off at your nearest FedEx location.
2. Organize a pick up by texting the Rythm team at
+1 (866) 740-3447.
Note: Pick-ups cannot be organized before 8am or after 6pm local time.Step 24
If you have any questions,
text us anytime at
+1 (866) 740-3447
Alternatively, you can email us at [email protected]